
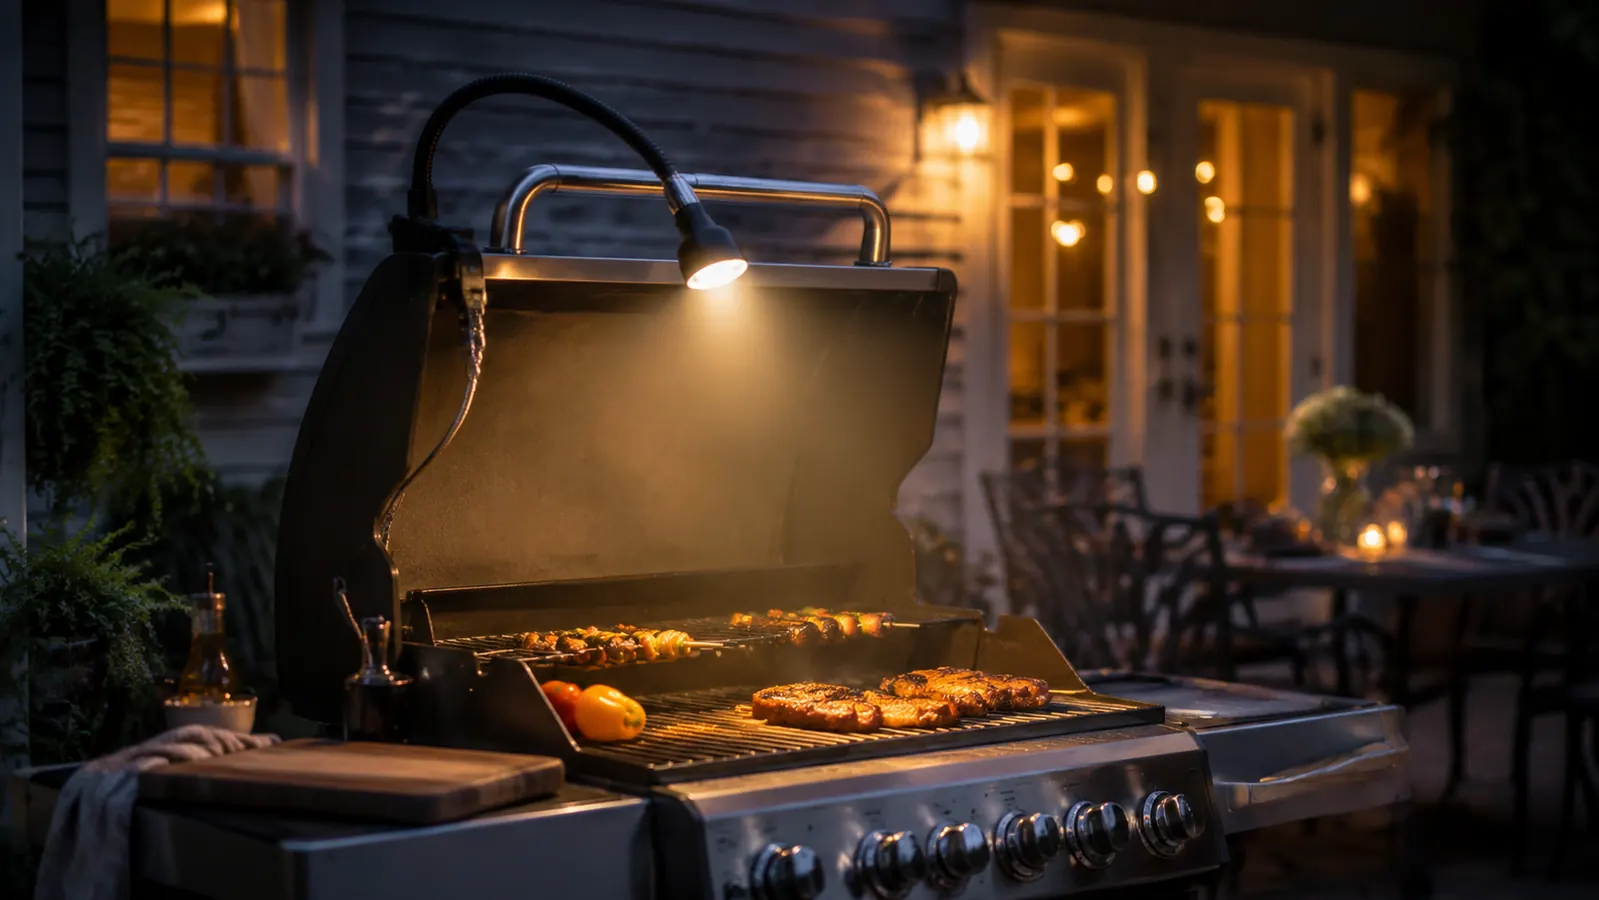
Most of the meals I've ruined over the years didn't get ruined because I flipped them too late or walked away too long. They got ruined because I couldn't see what I was looking at. I'd stand over the grate in the dark, poke at a chicken thigh with tongs, squint, guess, and either pull it too early or leave it on until it turned into shoe leather. Bonnie used to joke that half my dinners came with a side of hoping for the best, and honestly, she wasn't wrong. Some nights I'd carry the plate inside under the kitchen light just to find out what I'd actually cooked, and more than once the answer was disappointing.
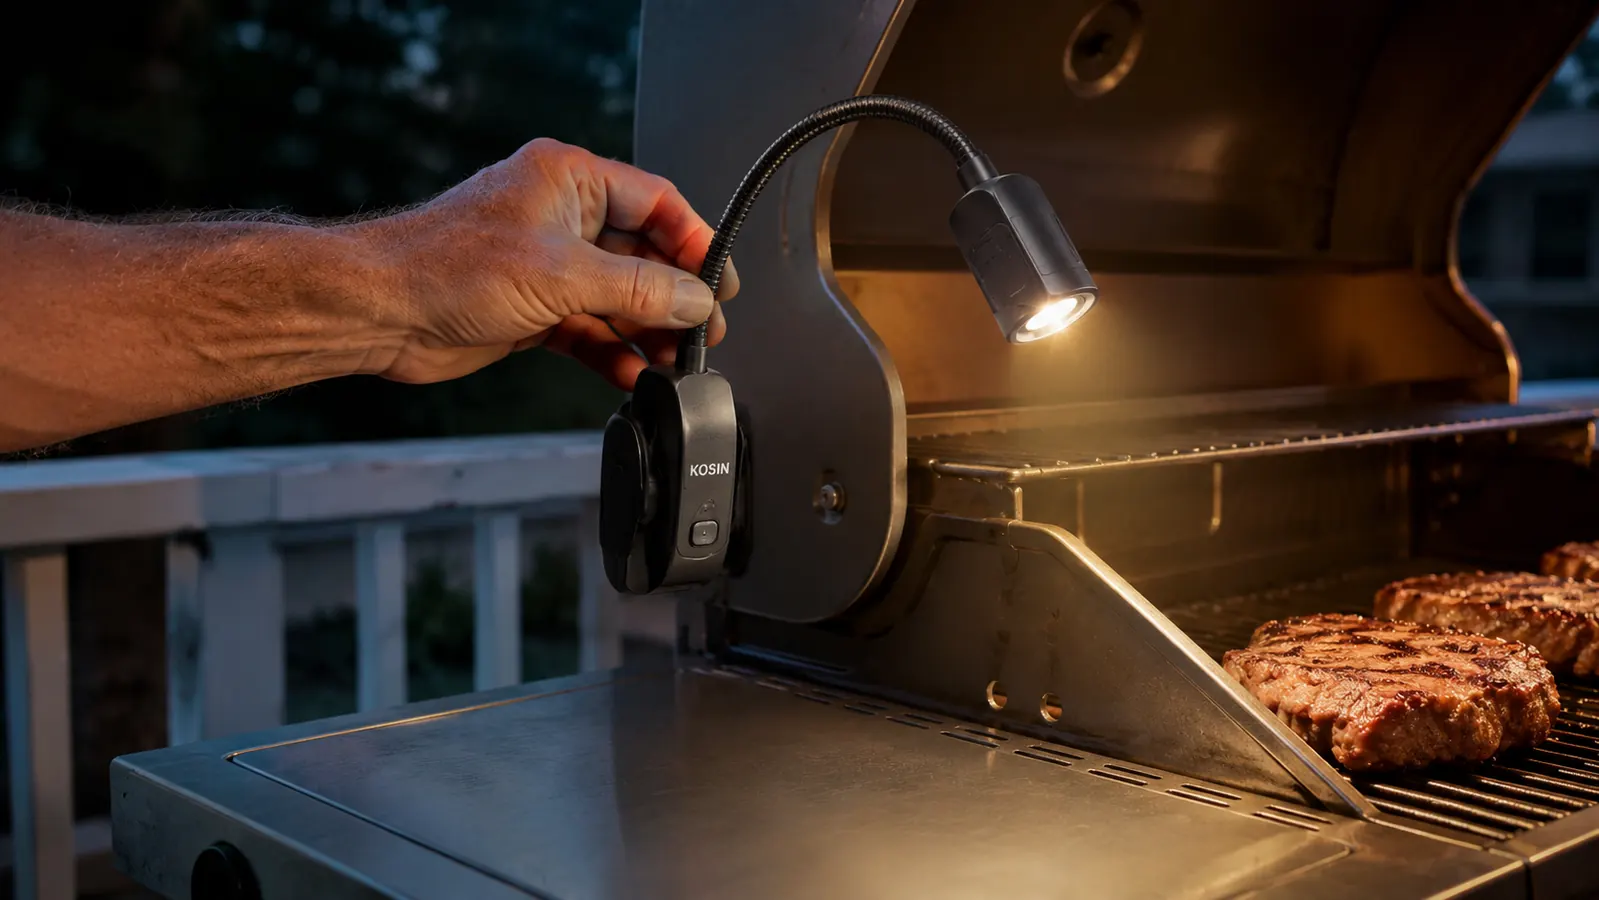
That changed the year Travis brought over a KOSIN grill light for Father's Day, mostly as a gag gift because I'd complained about it so many times. I clipped it onto the handle of my 3-burner gas grill that same night, and it's been on there ever since. It didn't just help me see. It changed how I check doneness, how I time my cook, and honestly how relaxed I feel grilling after the sun goes down. I used to rush every after-dark cookout, half worried I'd ruin dinner and half just wanting to get back inside where I could actually see. Now I take my time out there. Here's exactly how I set mine up, step by step, so you don't waste your first few nights fumbling with it like I did.
Stop Guessing at the Grate in the Dark
A clip-on LED grill light like the KOSIN mounts in under a minute and gives you a clear, glare-free view of the grate, no electrician skills required. Check today's price on Amazon before your next evening cookout so it's ready to clip on tonight.
Amazon Check Today's Price on Amazon →Step 1: Pick the Right Spot Before You Even Clip It On
Before I mounted anything, I walked around my grill with a flashlight in hand, just standing where I'd normally stand to flip food, and noting where the shadows fell. On my 3-burner grill, the handle sits about waist height and runs the full width of the lid, so it was the obvious spot. On Hank's kettle grill next door, there's no long handle, so he ended up using the magnetic base on the side table instead, angled up toward the grate rather than clamped anywhere on top.
The KOSIN light has a clamp on one version and a magnetic base on another, and which one works for you depends entirely on your grill. If you've got exposed metal near the cook surface, like the body of a kettle or the side shelf brackets on a gas grill, the magnetic base is nearly foolproof, since it grips hard and won't slide even when you bump the cart. If you've got a handle or a thin lip you can clamp onto, the clamp mount holds tighter in wind, which matters more than people expect once fall evenings turn breezy.
Don't skip this scouting step. I made the mistake the first week of clamping mine too close to the lid hinge, and every time I opened the grill to check the coals, the light swung and I lost my angle, then had to stop mid-cook and readjust it with greasy tongs still in my other hand. Now I clamp it dead center on the front handle, about six inches from the lid seam, and it never gets knocked around no matter how many times I open and close that lid.
Step 2: Mount It So the Beam Hits the Grate, Not Your Eyes
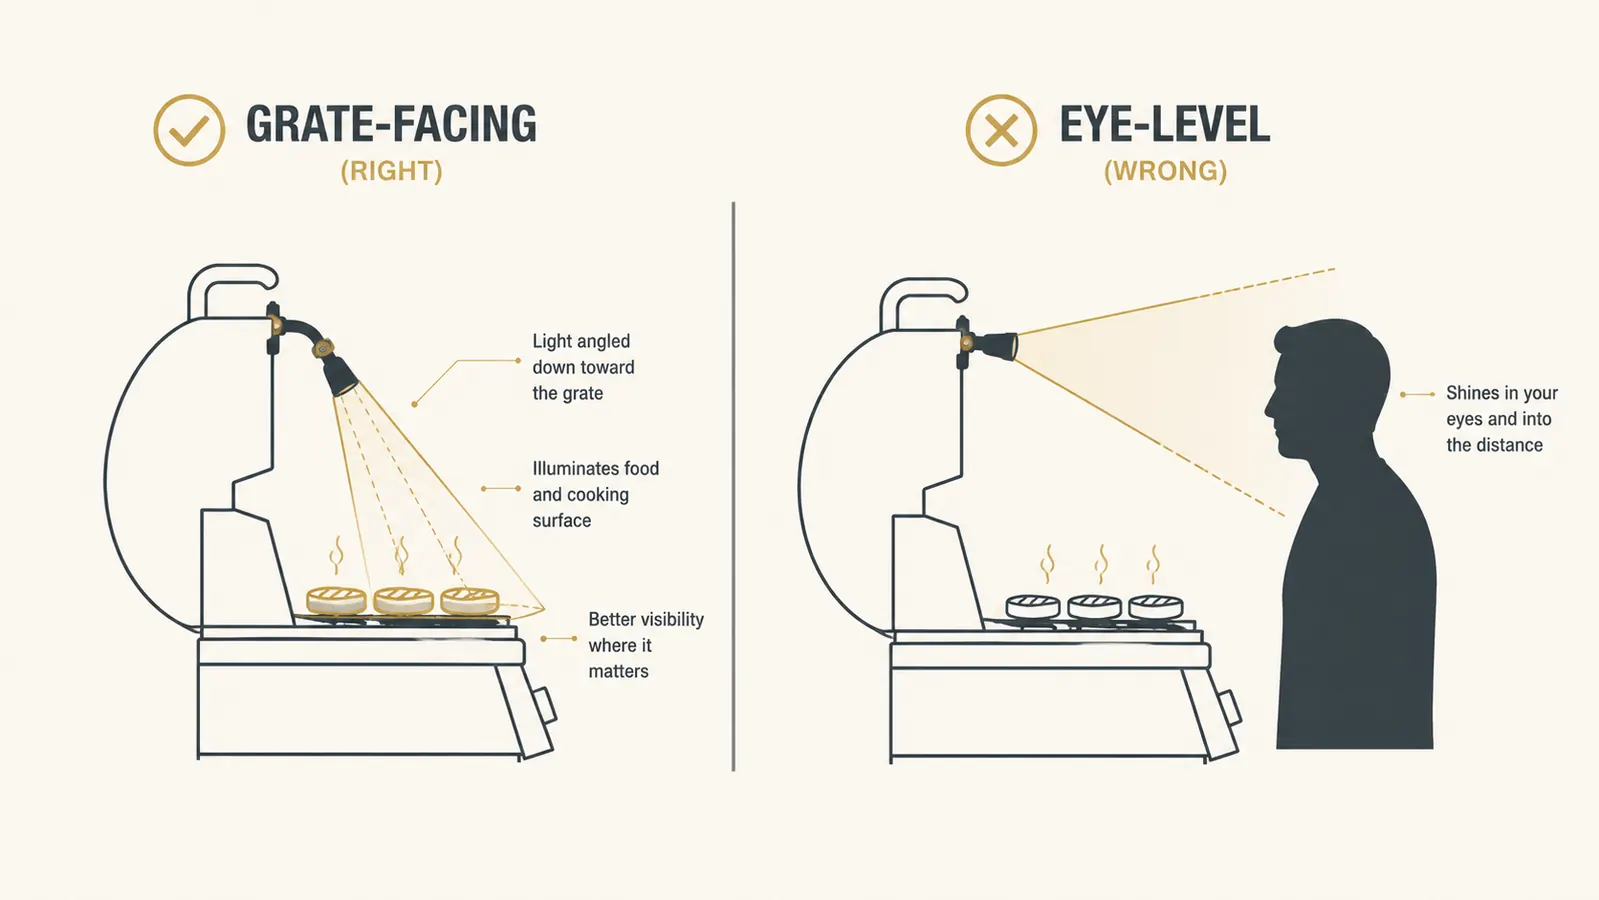
This is the step almost everybody gets wrong the first time, myself included. You clip the light on, flip the switch, and instantly blind yourself because the gooseneck is aimed straight out at face level instead of down at the food. A grill light that shines in your eyes is worse than no light at all, because now you've got a glare and you still can't see the grate, and your eyes take a minute to recover every time you glance up.
The fix is simple once you know it. Bend the flexible gooseneck arm so the light head points down at roughly a 45 degree angle, aimed at the center of the grate rather than at the horizon. On my grill, that means the arm curves forward and down until the bulb sits almost directly over the second burner. I set it once and I don't touch it again unless I'm moving the whole unit to clean underneath it, which I do maybe twice a season.
If you're grilling with a partner, like Bonnie does when she's handling the corn while I work the chicken, position the light so it covers the middle of the grate rather than one end. That way neither of you is working in a dim spot while the other one gets all the light, and you're not constantly asking each other to lean out of the way.
Step 3: Use the Light to Actually Check Doneness, Not Just to See
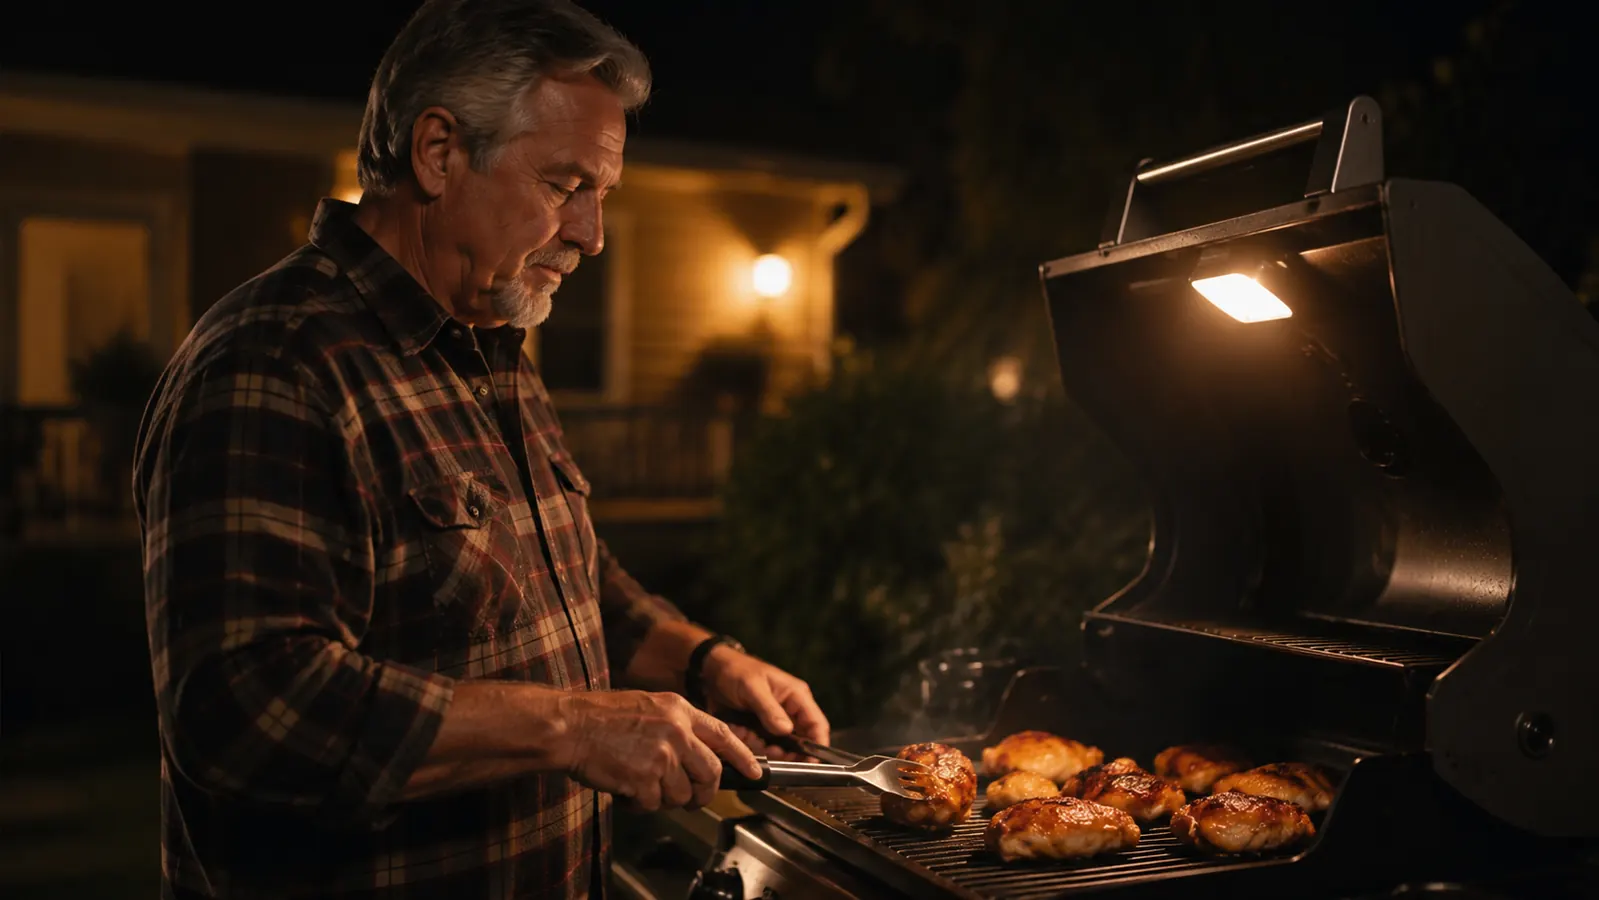
Having light on the grate is only half the job. The other half is using it correctly to judge doneness instead of just poking around blind but bright. With the KOSIN light aimed down at the grate, I can actually see the color change on a chicken thigh, watch the juices run clear instead of pink when I press it with tongs, and catch grill marks forming instead of guessing by smell alone.
I still carry my instant-read thermometer, and I always will. No light replaces that. But before the grill light, I was pulling the thermometer out constantly just to confirm what I couldn't see, poking holes in meat I didn't need to poke and losing juices in the process. Now I use the light to spot visual cues first, thigh at 165, burger with a solid sear, salmon just starting to flake, and only confirm with the thermometer when I'm close to done. It's cut my thermometer checks by more than half most nights, and my meat stays juicier for it.
This matters most with foods that are easy to overcook in the dark, like thin chicken breasts or shrimp skewers. Owen loves shrimp skewers, and shrimp goes from perfect to rubbery in under a minute. With good light on the grate, I can see the exact moment they curl and turn opaque, instead of finding out three bites in that they're chewy and having to promise him a redo next weekend.
Step 4: Manage Glare, Bugs, and Battery Life
Once the light's mounted and aimed right, three things will trip you up if you don't plan for them: glare off your grill's lid, moths and bugs swarming the light on humid nights, and running out of battery mid-cook. All three have easy fixes once you know they're coming, and none of them cost more than a few dollars to solve.
For glare, I learned to angle the light slightly off dead-center rather than straight down the middle of a shiny stainless lid, since the reflection off polished metal can bounce right back at you almost as bad as looking at the bulb itself. A small adjustment, maybe 10 degrees to one side, kills most of it. For bugs, especially in July and August out here, I keep a citronella candle burning near the side table. It doesn't stop every moth, but it thins the crowd considerably, and it beats swatting bugs away from a plate of ribs.
For battery life, mine runs on 3 AA batteries and I've gotten a solid month of near-nightly use before needing a change, but I keep a spare set in the utility drawer next to the grill anyway. Nothing worse than the light dying halfway through flipping burgers for six people. I also make a habit of switching it off the second I'm done cooking instead of leaving it running while we eat, which stretches the batteries even further and means I'm rarely caught off guard.
Step 5: Build a Simple After-Dark Routine
Once the light's mounted, aimed, and you've got a bug and battery plan, the last step is just building the habit so it's automatic. Mine goes like this: I clip the light on before I even light the grill, not after, so I'm not fumbling with mounting hardware once the coals are hot or the burners are going. I flip it on as soon as the sun starts dropping behind the fence line, even if I don't need it yet, because it's easier to adjust the angle in fading light than in total dark.
I also keep my tongs and thermometer in the same spot on the side table every time, right under the light's beam, so I'm never groping around for tools in a dark corner of the cart. Small thing, but it saves me from that moment of patting around blindly for the meat thermometer while a rack of ribs sits there getting away from me. Bonnie says I've gotten downright fussy about where things live out there, and she's probably right.
When Mia and Owen are over for a weekend cookout, they know the grill light coming on means dinner's close, and it's become part of our little routine out there. Bonnie will start bringing out the sides right when she sees that light click on through the kitchen window. It sounds small, but that little light changed the rhythm of how we grill after dark, and Hank's asked me twice now where I got mine after seeing it running from his own back porch.
What Else Helps
A few things pair well with a grill light if you're grilling regularly after sundown. A cheap headlamp is a decent backup for walking back and forth to the kitchen, though I don't love using one at the grate itself since it moves every time you turn your head and never stays aimed where you need it. A motion-sensor porch light aimed at the patio helps fill in the area around the grill so you're not stepping into a black hole between the grill and the door, which matters more once you're carrying a hot platter with both hands. And if you're someone who grills late into fall like I do, a second small light clipped to your prep table keeps you from seasoning meat in the dark before it even hits the grate, which is its own kind of guessing game.
A grill light doesn't just help you see the food. It helps you trust what you're seeing, which is the whole ballgame after dark.
Get Your Grate Lit Before the Next Cookout
If you're tired of squinting at chicken thighs and hoping for the best, a clip-on grill light like the KOSIN solves it in one clip and one bend of the gooseneck. Check today's price on Amazon and have it mounted before your next evening grill session, so the next dinner isn't a guessing game.
Amazon Check Today's Price on Amazon →