
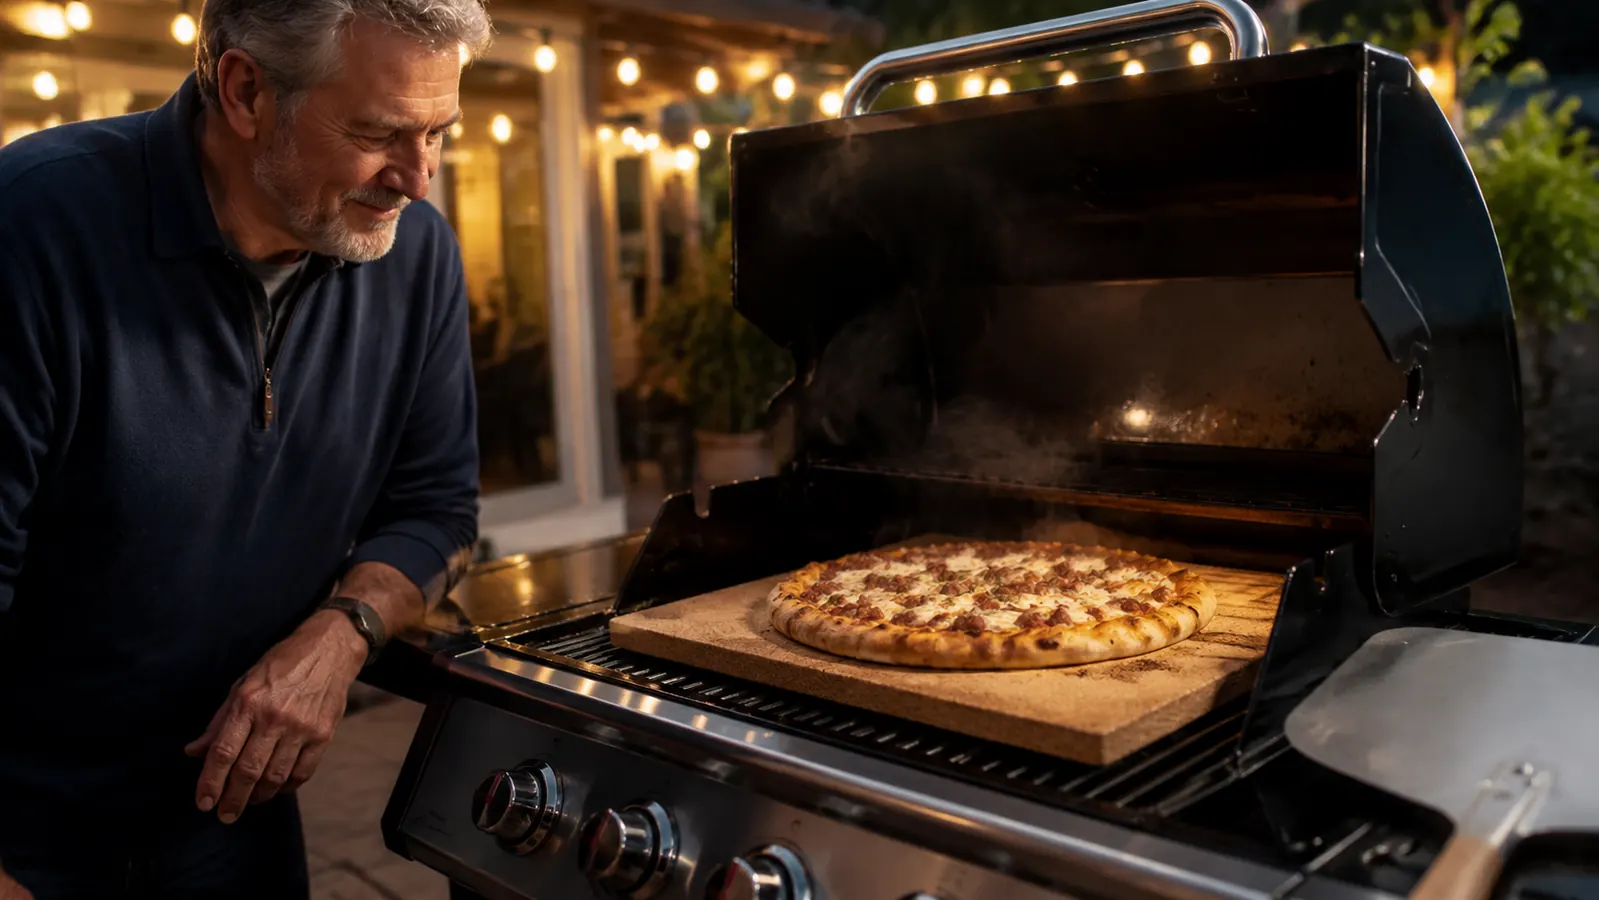
The first time I tried making pizza on my 3-burner gas grill, I set a raw dough straight onto the grate and watched it slump through the bars in about ninety seconds flat. Bonnie still brings that one up. It took me two more failed attempts, one leathery crust and one that burned black on the bottom while staying doughy on top, before Hank finally told me what I was missing. I wasn't cooking pizza wrong. I was cooking it without a stone, which on a grill is like trying to bake bread on an open flame and hoping for the best.
I bought the Hans Grill Pizza Stone PRO XL that same week, and it fixed the actual problem instead of just masking it. A grill throws direct, uneven heat straight up from the burners or coals, and thin dough has no chance against that without something underneath it to soak up and even out that heat first. This guide walks through the exact five steps I use every single time now, from the first flip of the ignition switch to pulling a golden, evenly cooked pie off the stone, so you skip the ninety-second slump-through-the-grate phase I didn't. None of this is complicated once you've done it a handful of times, but nobody handed me a checklist when I started, so this is the one I wish I'd had.
Tired of pizza dough that burns on the bottom before the top even melts?
The Hans Grill PRO XL solves the real problem, direct uneven heat hitting thin dough, by holding steady heat across a thick cordierite surface. Check today's price on Amazon before your next pizza night so it's ready to preheat.
Amazon Check Today's Price on Amazon →Step 1: Preheat the Stone Longer Than Feels Necessary
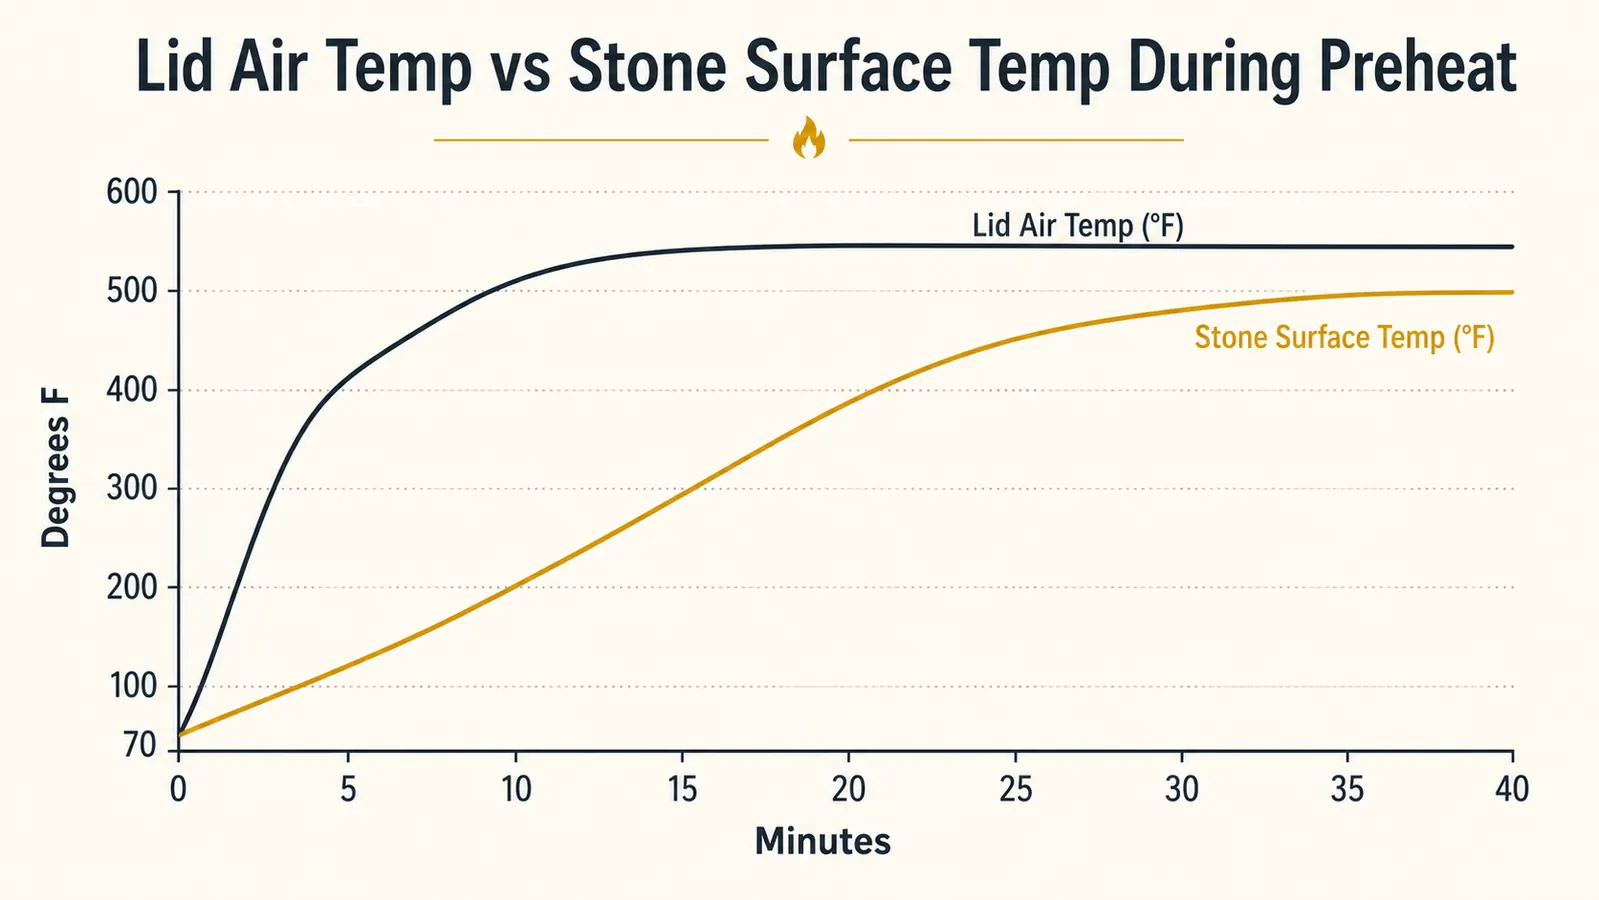
This is the step almost everyone rushes, myself included the first three times I tried. A pizza stone is not like a cast iron pan that comes up to temperature in five minutes. Cordierite is dense and slow to heat, which is exactly what makes it good at holding steady heat once it gets there, but it means you have to be patient going in. I set the stone directly on my grill's main grate, close the lid, and turn all three burners to high for a full 40 minutes before a single pizza touches it.
I know 40 minutes feels excessive when you're standing there hungry with dough already stretched and toppings prepped. I used to cut that time down to 15 or 20 minutes out of impatience, and every single time the bottom crust came out pale and soft instead of crisp, because the stone hadn't actually built up enough stored heat yet. The grill's built-in thermometer will read 500 degrees or higher well before the stone itself is anywhere close, since that gauge measures air temperature inside the lid, not the surface of the stone sitting on the grate.
I eventually picked up a cheap infrared thermometer gun just to settle the argument with myself, and it confirmed the stone runs a good 100 to 150 degrees cooler than the air around it for the first half hour. Once I started trusting the clock instead of the lid gauge, my crusts stopped coming out inconsistent from one Friday to the next.
I also start the stone cold, in a cold grill, every single time, rather than dropping a room-temperature stone into a grill that's already ripping hot. Ramping the two up together protects against thermal shock, which is what actually causes cracking in cordierite, not the high heat itself. It's a small habit that costs nothing and I've never had a single crack in mine as a result.
Step 2: Set Up the Grill for Indirect Heat
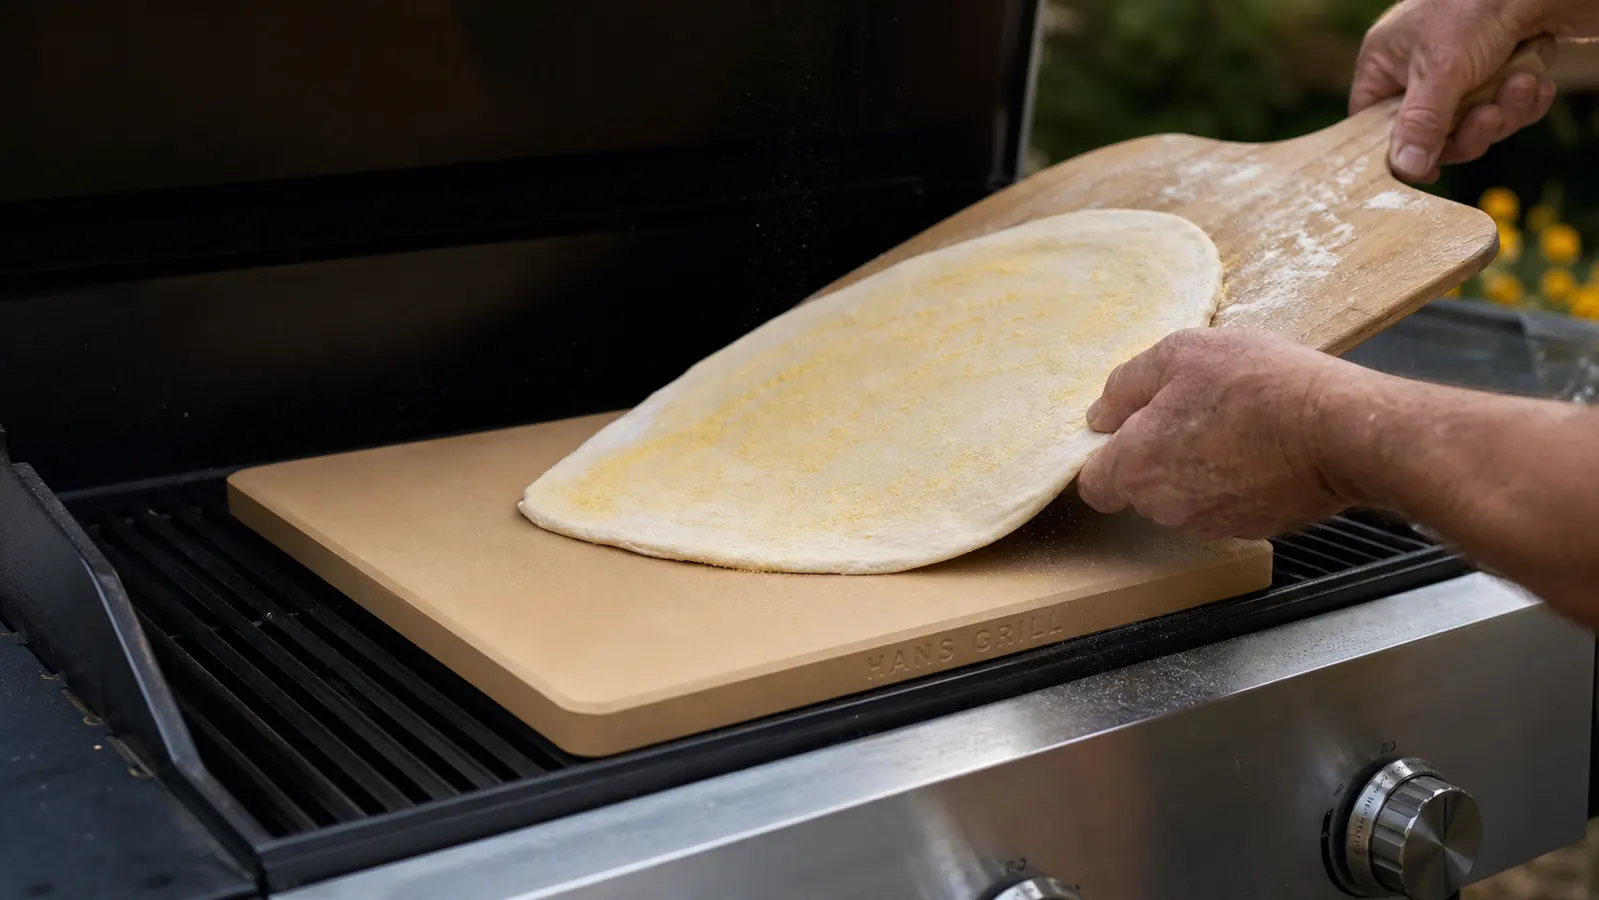
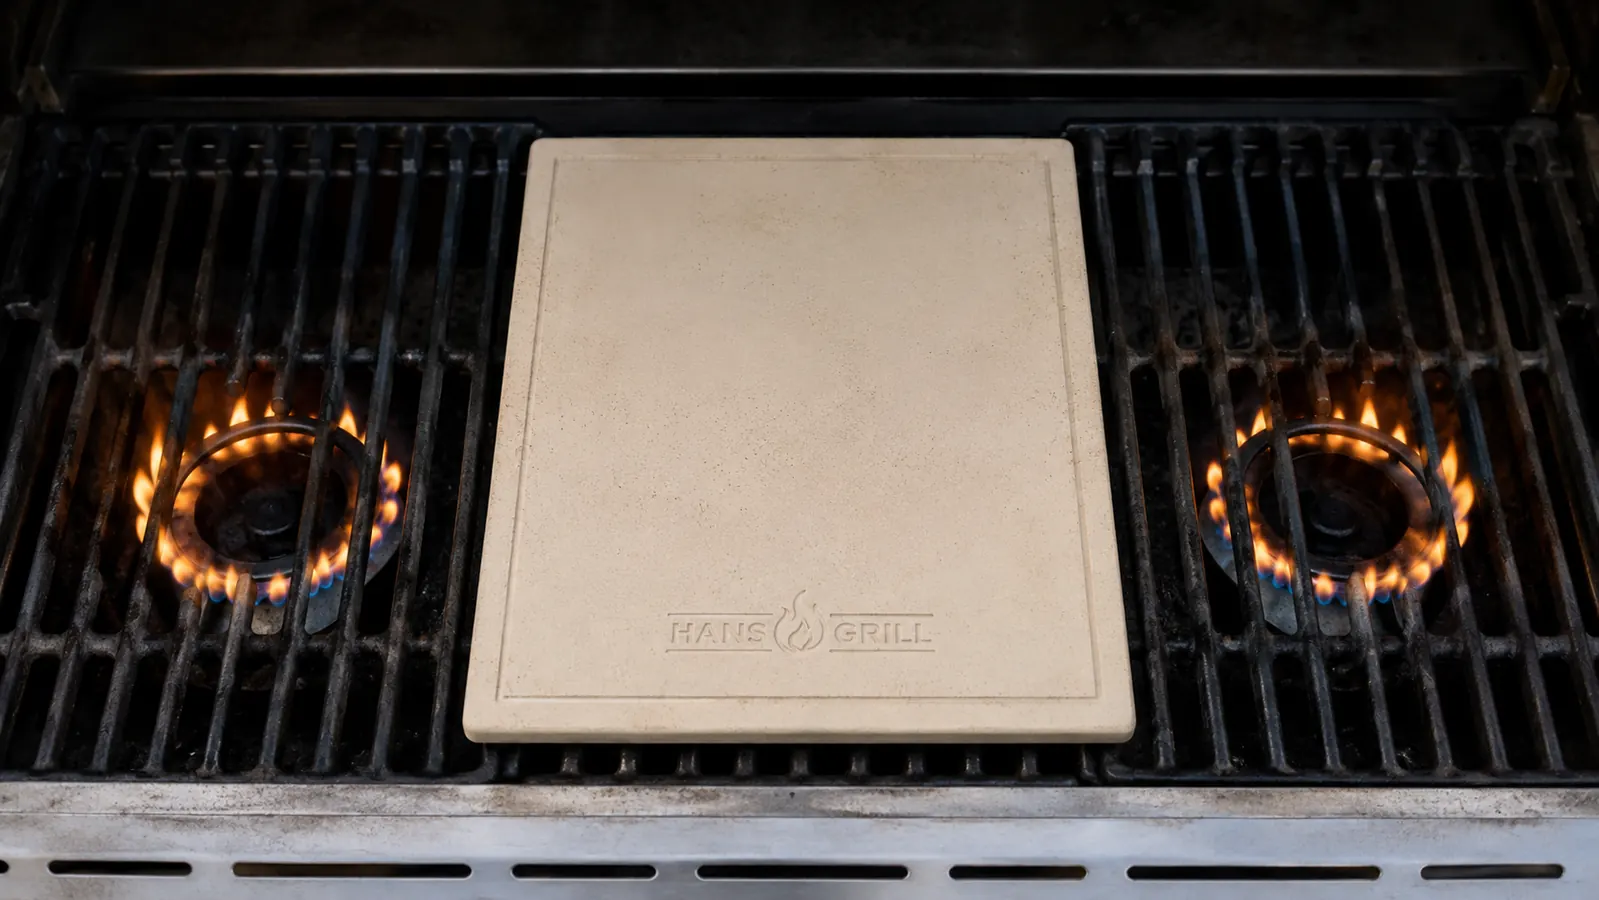
While the stone preheats, I set my burners up so the stone sits over indirect heat rather than a direct flame underneath it. On my 3-burner grill, that means the two outer burners run on high and the middle one stays off, with the stone centered over that dead middle zone. This keeps the bottom of the pizza from scorching in the first two minutes while the top is still raw, which is exactly what happened to me on my second attempt, before I understood direct versus indirect heat even mattered on a grill.
If you're working with a charcoal kettle instead, like the one I keep next to my gas grill for smoking, the same principle applies with coals banked to either side rather than piled directly under the stone. Hank runs his kettle this way and swears the pizzas come out with a slightly smokier edge than mine, which I can't argue with, though it takes more fussing with the coals to hold a steady temperature the whole cook.
Either setup, the goal is the same: get the grill lid closed and holding somewhere around 500 to 550 degrees, with the stone getting heat radiated down from the lid and reflected up from the grate, rather than a direct flame licking the bottom of the stone the entire time. I check the lid thermometer every ten minutes or so during preheat, mostly out of habit, though by now I can usually tell just from the hiss of the burners whether I'm close.
Step 3: Build the Pizza on a Floured Peel, Never on the Stone Itself
Once the stone is preheating, I use that 40 minutes to stretch dough and load toppings on a wooden pizza peel, never on the stone itself. This sounds obvious once you've done it, but my first attempt involved trying to assemble the pizza directly on the hot stone with tongs, which is clumsy, dangerous, and a great way to end up with toppings scattered across your grate instead of your pizza.
I dust the peel generously with cornmeal before laying the stretched dough down, since cornmeal acts like tiny ball bearings that let the raw pie slide off the peel instead of sticking to it. Semolina flour works the same way if you have it on hand, and some nights I mix the two. Either way, skip this step and you'll find out the hard way when your pizza refuses to leave the peel and folds in on itself halfway through the launch, something that happened to me exactly once before I learned my lesson.
I keep toppings on the lighter side for grill pizza specifically, since a heavily loaded pie takes longer to cook through and gives the crust more time to overcook while you wait on the center. Mia and Owen like a simple cheese and pepperoni, which cooks fast and evenly, while my own pies lean toward a thin layer of sauce, mozzarella, and whatever vegetables Bonnie has left over from the week. Less is genuinely more here.
Dough thickness matters too. A thin, hand-stretched 12-inch crust, rolled or stretched to roughly a quarter inch, cooks fast and evenly on this stone. A thicker, pan-style dough takes considerably longer and is more prone to a raw center if you don't slow the cook down, so I stick with thin crust for anything cooked directly on the stone and save the thicker styles for a cast iron skillet on the side burner instead.
Step 4: Launch the Pizza and Manage the Cook
Once the 40 minutes is up, I give the peel a quick, confident shake to make sure the dough is still sliding freely, then use a short, sharp forward jerk to launch the pizza onto the stone in one motion. Hesitating here is the biggest mistake I made early on. A slow, timid slide lets the dough catch on the stone's edge and crumple, while a quick decisive motion sends it flat and even every time.
With the lid down and the grill holding around 500 to 550 degrees, a thin 12-inch pizza with light toppings runs 6 to 9 minutes total. I check at the halfway point by lifting the lid and giving the pizza a quarter turn with the peel, since even with indirect heat, one side of my grill always runs a touch hotter than the other. Skip that rotation and you'll end up with a crust that's noticeably darker on whichever side sits closer to the lit burners, which is exactly what my first few pies looked like before I started turning them.
Heavier, more heavily topped pizzas need closer to 10 to 12 minutes, and I've had to drop the outer burners down to medium a couple of times when the cheese was browning faster than the crust was crisping underneath. That balance between top and bottom is really the whole skill of grill pizza, and it took me a solid month of Fridays before I stopped second-guessing the timing every single time.
Wind is the other variable nobody warns you about. On a gusty evening, my grill loses heat faster with the lid cracked for a peek, so I've learned to check less often and trust the clock more when it's breezy out, adding a minute or two to the total cook time rather than opening the lid every ninety seconds to look.
Step 5: Pull, Rest, and Let the Stone Cool the Right Way
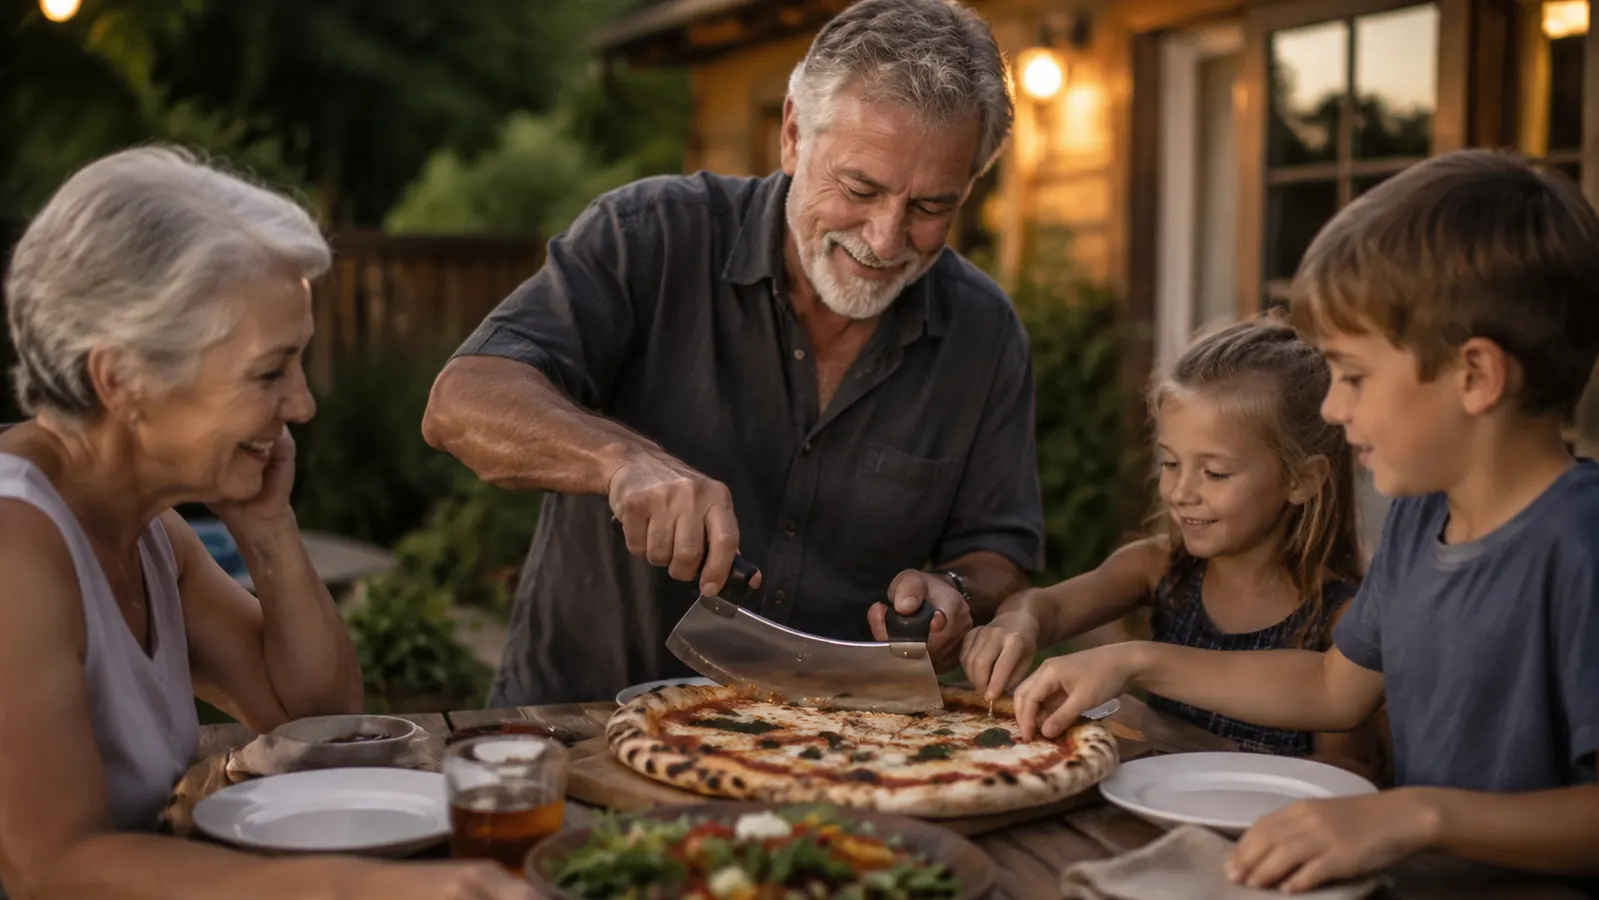
When the crust looks golden with a few char spots and the cheese is fully bubbling, I slide the peel back under the pizza the same way I launched it, just in reverse, and pull the whole thing off in one motion rather than dragging it slowly, which risks catching an edge and tearing the crust. I let it rest on a cutting board for two or three minutes before slicing, since cutting too early lets all the cheese slide off with the first piece, something Owen has learned to complain about loudly if I rush it.
The stone itself needs to cool down on the grill with the lid open rather than getting moved anywhere while it's still hot. I never set a hot stone on a cold or wet surface, since that kind of sudden temperature swing is what actually causes cracking, not the high heat of cooking itself. Once it's cooled, I scrape off any stuck cheese or burnt cornmeal with a metal bench scraper and wipe it down dry. No soap, ever, since cordierite is porous enough to soak up detergent and hold onto the taste of it for the next pizza.
If I'm cooking multiple pizzas back to back for a bigger crowd, like when Travis brings his family over, I leave the stone on the grill between pies rather than pulling it off to cool. It stays hot enough for a second and third pizza without needing to reheat, and I just give it a quick scrape with the bench scraper between pies if anything's stuck to the surface.
What Else Helps
A few cheap tools make this whole process noticeably easier once you've got the stone itself sorted out. A proper wooden pizza peel is worth owning rather than improvising with a cutting board, since the thin edge and smooth surface make the launch far more reliable. A cheap infrared thermometer gun takes the guesswork out of knowing when the stone, not just the air around it, is actually ready. And a rocker-style pizza cutter handles a crisp grill crust better than a rolling wheel, which tends to drag and tear a char-spotted bottom instead of slicing clean through it.
A small dough scale helps too, since consistent dough weight from one pizza to the next means consistent cook times, and I stopped guessing at how much dough to portion out once I started weighing it. None of these extras are required to get a decent pie out of this method, but all four shave real frustration off the learning curve I went through the slow way, one burned Friday at a time.
The stone doesn't make the pizza. Patience with the preheat does. The stone just gives that patience somewhere to go.
Ready to stop guessing your way through grill pizza night?
The Hans Grill PRO XL gives you the even, steady heat this whole method depends on. Check today's price on Amazon and give it a full 40-minute preheat before your next pizza night, so your first pie doesn't slump through the grate like mine did.
Amazon Check Today's Price on Amazon →